As an event organizer, the holidays can be one of the busiest seasons of the year, both personally and professionally.
We know the holiday season can be stressful, but organizing your event doesn’t have to be - with the right tools. Though competition can be especially tough this time of year—our calendars are often packed with office parties and family obligations—the holidays offer a great opportunity to host festive events that will become part of your guests’ annual traditions. With that in mind, here’s our Holiday Event Planning Checklist which we hope will relieve some of your stress and set your event up for success.
Step 1: Start With a Plan
Every successful event starts with a plan. The first step in hosting the perfect holiday event is to sort out all the details: date, time, venue, and budget.
Set Your Budget
Determining your budget is key during this planning step since it determines many of the choices you’ll make in the following steps. Sit down and look at your finances and be realistic about what you can afford to spend on this event. And remember, a bigger budget doesn’t always mean a better event.
Pick a Venue
Choosing your venue should be one of the first things you do (after setting a budget) because this will influence a lot of the other decisions that have to be made.
Set the Date and Time
Once you’ve determined what type of holiday event you want to host, where it’ll be, and what your budget is, you’ll need to work on putting together a plan for when and where you’ll have the event. Timing is critical with holiday events since there’s such heavy competition and so little time. Planning something for earlier in December can be more profitable since you’ll be a little ahead of the game and your guests will have a bit more flexibility.
Ask yourself questions when searching for the right venue and date/time. Questions like: Do I need an indoor or outdoor space? How many guests do I estimate will attend? Is my target audience busy that day? Is evening better?
.jpg?width=800&height=400&name=Holiday%20Event%20Planning%20Checklist%20(3).jpg)
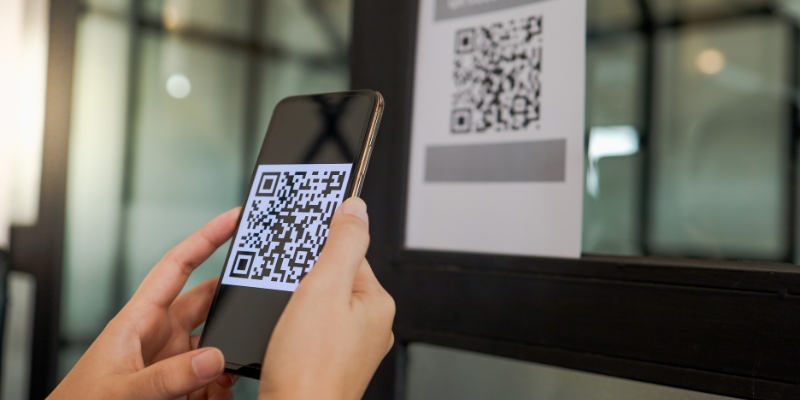
Step 2: Set Up Ticketing
The next step in organizing your holiday event is ticketing. You’ve already booked a venue so you know how many tickets you can offer and when and where the event will be held. Before you can start actually promoting your event and selling seats, you’ll have to determine what ticketing solution you want to use. Even if your event is free you should consider having a ticketing system in place to allow you to keep track of how many guests are attending and to ensure you don’t go over your venue’s capacity.
When choosing your ticketing provider, just make sure they offer the support and features you’re looking for. If you’re interested in learning more about what Passage has to offer, schedule an onboarding call with our team today.

Step 3: Start Promoting
Now that you have the basic details down and your tickets are live, you can start promoting your holiday event. First, you’ll need to determine some of the details regarding your target audience. You’ve likely already done research here to determine the best time and date to host your event so this shouldn’t be too time consuming. We recommend you begin promoting your event at least 30 days ahead of time so that your audience has plenty of time to prepare and put it on their calendar.
Social Media
Wondering where and how to promote your event? Don’t worry - we’ve got you covered. Social media is the most popular and sometimes effective way to promote your event online. It’s inexpensive and there’s several good platforms out there that you can utilize: Facebook, Instagram, Twitter, even LinkedIn can be a good option.
Email Marketing
Another great way to promote your event can be email marketing. If you already have an email list, this would be a good opportunity to spread the word about your upcoming event to your biggest fans.
Digital Ads
If you have the budget, digital ads can also be a great way to get the word out there and attract guests to your event. You can create Google Ads or ads that will run through your social media channels like Facebook and Instagram.
Media Promotion
Depending on the event you’re hosting, it may also be worthwhile to contact local media outlets to promote your event. Choose an outlet your target audience is likely to tune into and provide them with any relevant information so they can encourage the public to attend.
.jpg?width=800&height=400&name=Holiday%20Event%20Planning%20Checklist%20(1).jpg)
Step 4: Book the Food and Entertainment
By this point, a lot of the initial heavy lifting is done and it’s time to focus on some of the finer details - like food and entertainment. You want this event to be memorable for your guests, and what’s more memorable than good food and entertainment?
Food
First you need to decide whether you’ll be serving any sort of food at your event - this could be simple appetizers or dessert or a full meal. Make sure to plan far enough ahead to ensure you can get all the ingredients you need or that your caterer has the capacity to cater your event.
Entertainment
Since it is the busiest time of the year, make sure that if you’re looking for a live entertainer you book with them as soon as you can. Depending on the ambiance you’re trying to create you may want to hire a string quartet or a DJ or a magician. Whatever you decide, just make sure it fits well with the event you’re hosting and that you get right to work booking with your entertainer.
Step 5: Build Your Itinerary and Staff
Itinerary
Now that you’ve booked your venue, food, entertainment, and have most of the planning done it’s time to plan out the day of your event. Start with the set up that needs to happen and end with your guests leaving your event. The more detailed you can be with exactly what needs to be done, the better. This will allow you to stay on track and give better directions to your staff.
Staff
If your venue doesn’t provide staff members or you don’t have full-time staff on hand, you’ll need to hire some temporary staff members for your holiday event. Sit down and write out an itinerary for your event and then determine how many staff members you’ll need for each stage of the event. You may find that you need a lot more staff members at the start of the day to set everything up than you do during the actual event and so you won’t need to hire everyone for the full day.
.jpg?width=800&height=400&name=Holiday%20Event%20Planning%20Checklist%20(2).jpg)
Step 6: Finalize the Details
You’re in the home stretch and it’s important to go over everything one last time.
The Week before
Double check with all your vendors that they have everything they need and remind them of the schedule. Check in with your venue to make any last minute arrangements and account for any possible delays or hiccups. Make a checklist of everything that still needs to be done so you can stay on top of it all. Last, but certainly not least, check in on the guest list to give vendors an updated headcount.
The Day Before
Check off the last few items on your to do list and make any final changes with your vendors. Don’t forget to send out a reminder to your guest list or post on your social media accounts to help ensure no one forgets. If you’re able now is a great time to head over to your venue and do as much prep and set up as you can to make the day of your event as smooth as possible.
The Day Of
Double check all your equipment, do final set up, coordinate deliveries and vendors, send out a last minute reminder to your guests, and then it is showtime!
Step 7: Never Forget the Follow-Up
Once your event is over, take yourself home for a long overdue bubble bath and pour yourself a nice glass of wine to celebrate a job well done. However, once you’re done catching up on well deserved ‘me time’, don’t forget to work on a post-event follow-up.
The day after your event is the perfect time to send your guests a thank you email. Maybe include some event highlights or pictures, or even include a survey link so guests can provide you with feedback for future events.
You can also take this opportunity to send an email to any guests who may have purchased a ticket but didn’t show up to the event. Let them know you missed them at the event and you hope they can make it to future events.
Last but certainly not least, meet with your team. While the event is still fresh in your minds, go over what worked and what didn’t and how you can improve for future events. Once you’ve received results, you can share the survey feedback with your team too.
And Happy Holidays to You!
The holidays are a great time to connect and celebrate one another and we hope that all the wonderful holiday cheer lights up your event. With our holiday event checklist you should be fully prepared for anything and ready to host your most successful event yet.