Just like in-person events, planning a virtual event takes time and effort to create a memorable experience your customers and fans will love.
If you haven’t read our guide to livestreaming your event yet, bookmark this page for later. Today, we’re going to walk through the step-by-step process for planning your virtual event, including how much time you should spend on each step. Don’t forget to download our checklist at the bottom of this page!

Day 60: Establish a Plan
Start by establishing a concept for your virtual event. The needs of a livestreamed conference are very different from a music festival, for example, so it’s important to plan out the logistics well in advance.
Determine which format you’ll use
Will your event be 100% virtual? Or will it have an in-person component, with some guests attending on-site and some participating from home?
Secure entertainment, talent, or content
This is arguably the most important part of your event – it’s what guests are coming to see! Be proactive about securing the content and/or the people you’ll need to host a great livestream event.
Consider guest interaction
Some events, such as a virtual trivia night, work better with two-way video interaction than others, such as a cooking demonstration or a concert. Think through the format of your event and decide whether one-way video with a live chat would work best, or whether you really need two-way video for all attendees.
You might also want to think about allowing guests to “tip” or donate live during your event. It’s a great way for them to show their support and for you to earn some extra revenue!
Choose a livestream platform
There are plenty of choices when it comes to livestreaming platforms; take some time to evaluate your options and choose the one that’s right for you.
If you’re using Passage, your ticketing and livestream tools are all on one easy-to-use platform. We also have tools to help you interact with attendees, including:
- Instant Donations: Accept tips or donations right in your livestream. Supporters can donate with one click using their payment information saved on file when they purchased their tickets. All donations are transferred to your bank account within two business days, just like normal ticket sales.
- Live Chat: Host Q&A sessions or give shoutouts to fans during your live stream.
- Multiple Access Types: With Passage, you have the option to sell virtual and in-person access to the same event, at different ticket prices if you choose.
- Re-broadcasting: Record your livestream and continue selling access after the event ends. There’s no limit on the number of attendees with a virtual event!
We created a whole post on how to livestream your event if you want to learn more.
Ticket sales are the #1 way most events make money, so this is a critical step in your planning process. We’ve got a guide with 5 key things to look for when choosing a ticketing partner to help you make your decision.
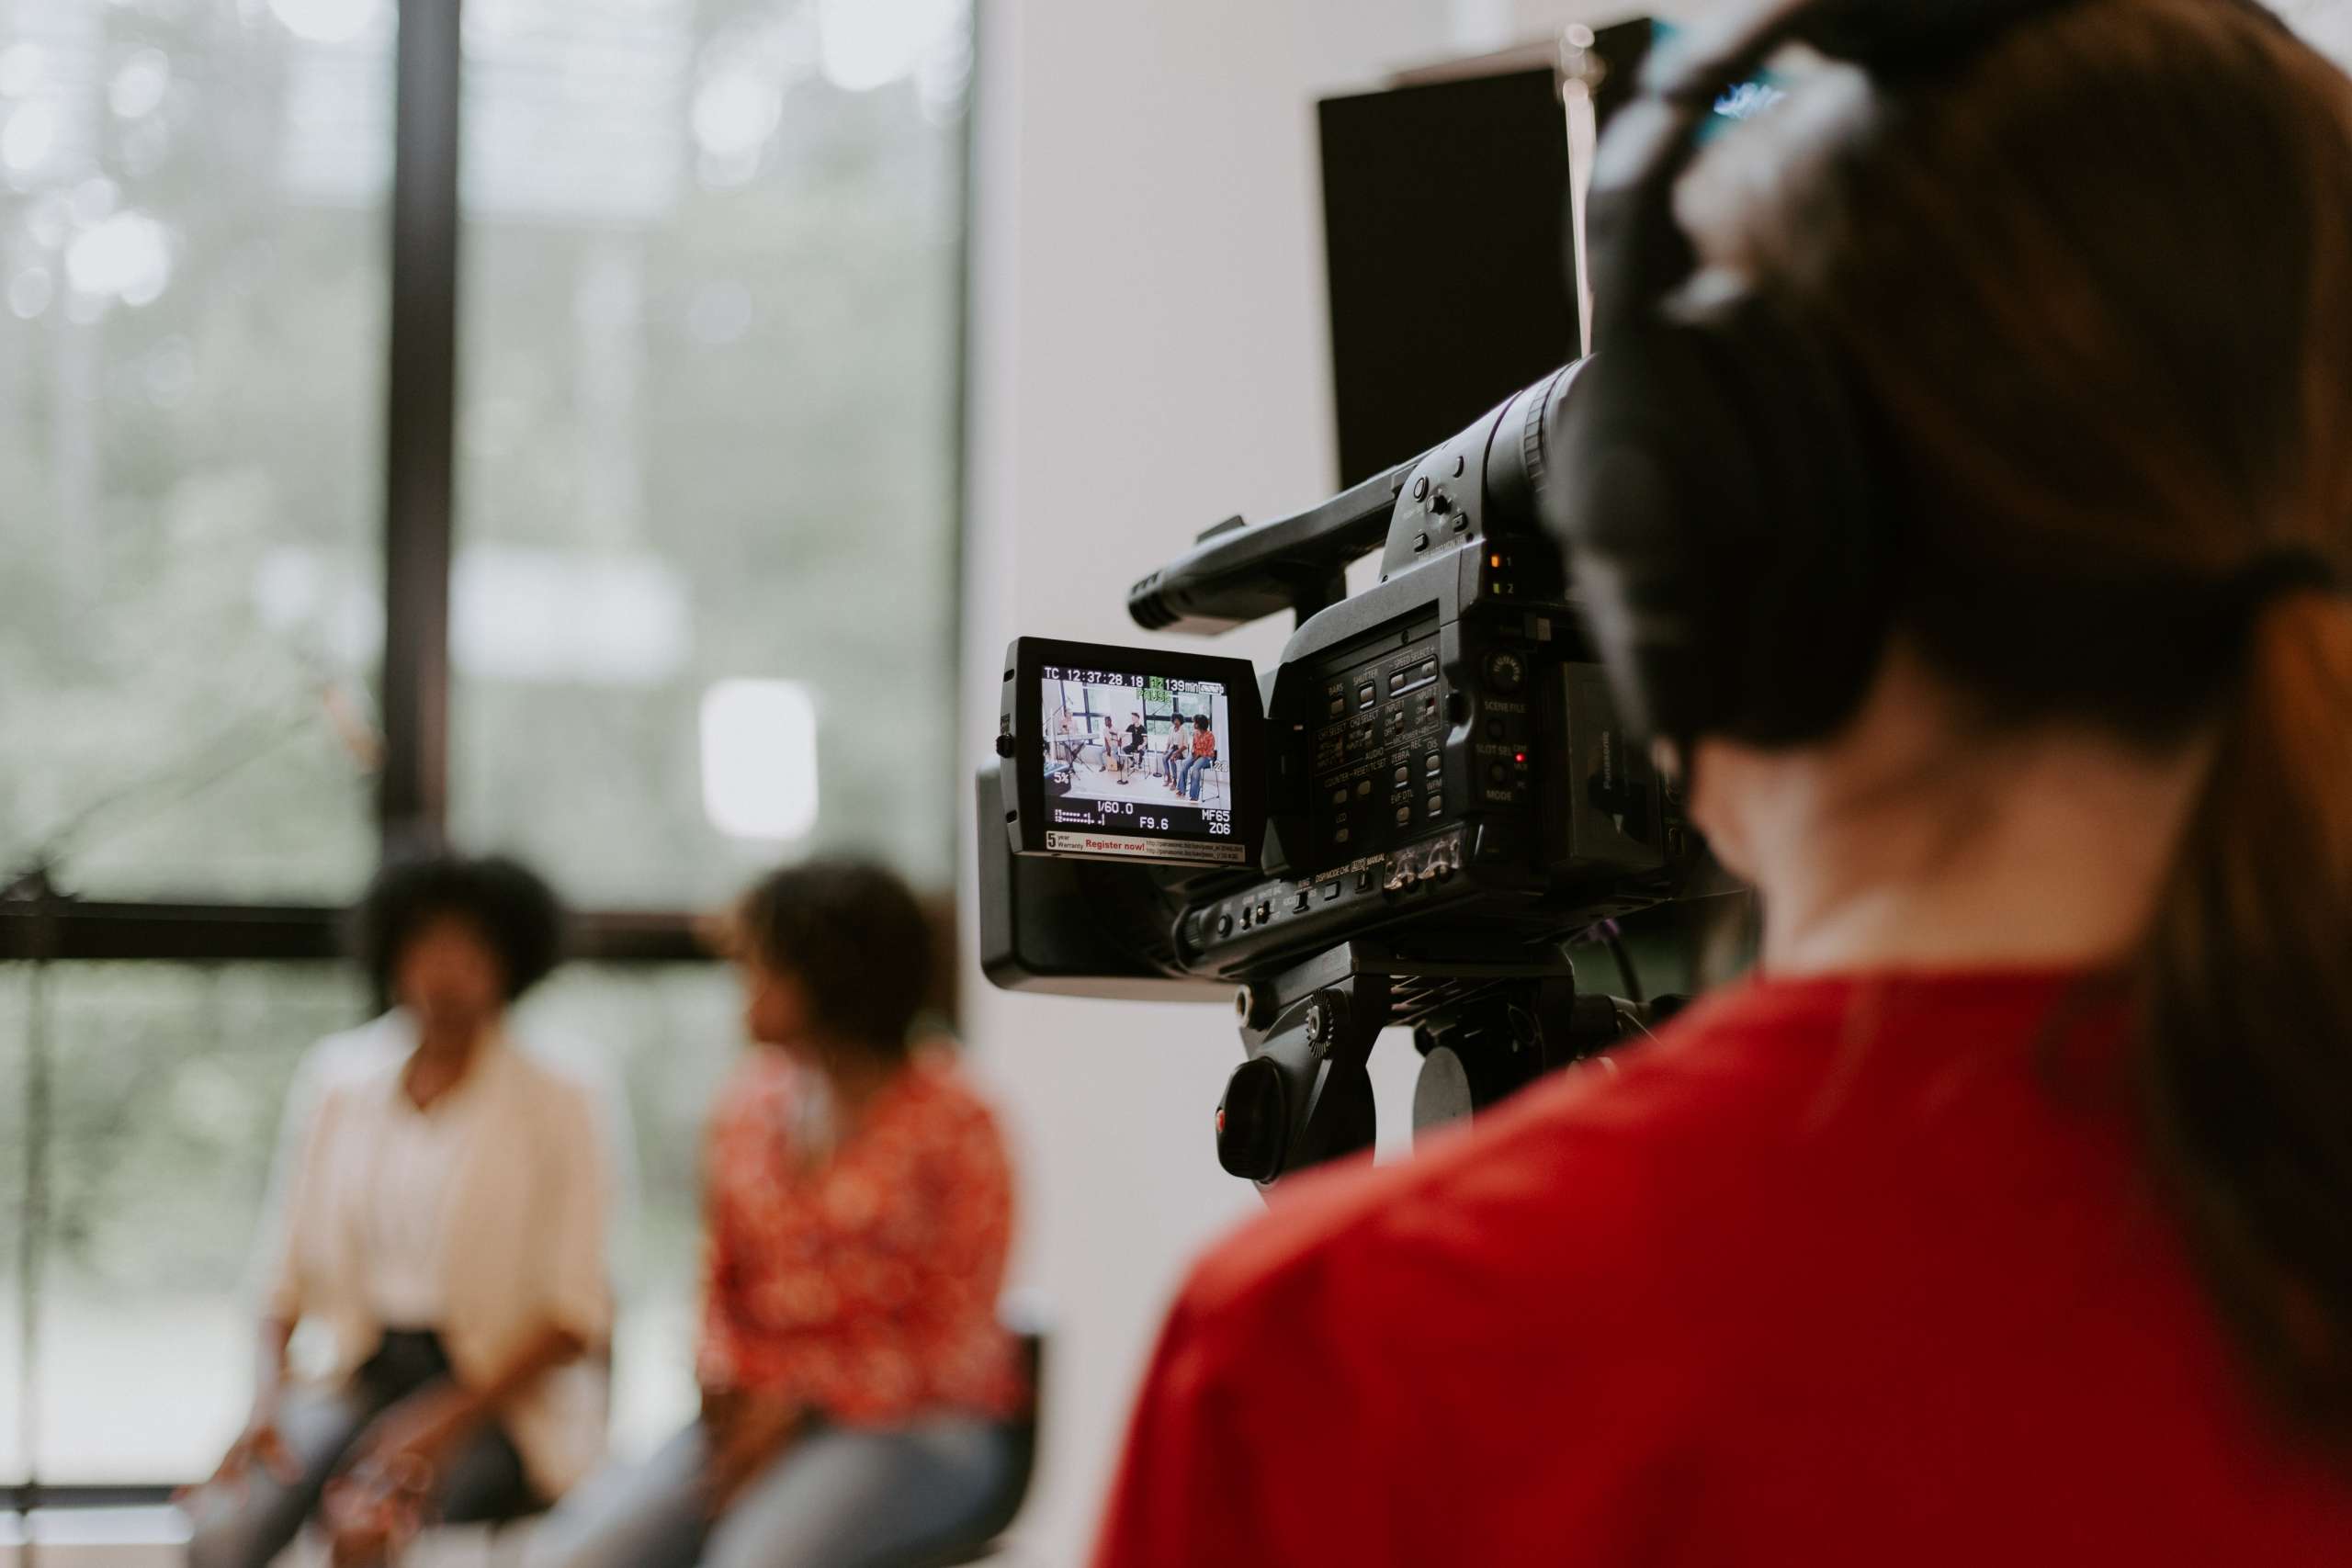
Determine staffing and equipment needs
Assess your technology needs and decide what, if any, AV equipment you’ll need to purchase or borrow for your livestream. Some events start with a simple webcam and good quality computer, while others are fully-produced shows with professional lighting and camera equipment. Decide what is right for your event and what fits within your budget.
If your event is 100% virtual, you might think you don’t need any support staff on site. Don’t make this mistake! Plan for extra tech support, someone to run your live chat, and staff to run the lighting and cameras if necessary.
Finalize your plan and budget
Combine all of these details into an event plan and timeline. Don’t forget to create a budget! Your budget should include staffing needs and AV equipment, as well as any marketing and advertising you plan to do for your livestream event.
Your budget should include not only expenses but projected revenues as well. Consider how much you’ll charge for admission to your livestream. You may have various ticket price points, especially if you have a hybrid in-person and livestream option, or you may decide to give away virtual access for free and request donations during your live stream.
Set up your ticketing page
You’ll need somewhere to send guests who want to purchase tickets for your event, so make sure your ticketing page is set up before you start promotions.
If you’re using Passage, you can get your ticketing page set up in just five minutes, or send your event details to our team and we’ll set everything up for you, for free. Embed the page on your website, or link directly to it from social media and other channels.

Day 30: Promote Your Event
Start promoting your event at least 30 days in advance to give guests time to reserve time on their calendars and purchase tickets.
Organic promotions
Use every channel you own, such as social media pages, your website, and email list, to promote your event to your fans.
Paid promotions
Start spending that ad budget you established in your event plan. Consider using promo codes to help you track which channels are bringing you the most sales; you can assign a unique promo code to each of your advertising campaigns (Passage supports unlimited promo codes).
Provide any influencers, talent, or artists participating in your event with the assets or content they need to help promote your event to their networks. You may also want to provide each partner with their own unique promo code, to offer their followers or members a discount for purchasing tickets.
Confirm entertainment & talent
Whatever format you choose for your event, you’ll want to make sure that the people featured are confirmed before you start promoting their participation. Make sure you have contracts signed, and determine what support or equipment you’ll need to provide in advance.
Keep your team in the loop
Consider creating a private chat on the messaging platform of your choice (our team likes Slack, for example) to keep everyone informed and allow for questions or discussion. Even if you already have a regular team communication channel, consider creating a separate thread dedicated to this event. This will allow any guest talent or participants to stay up-to-date on the event details without getting inundated with daily team communications.

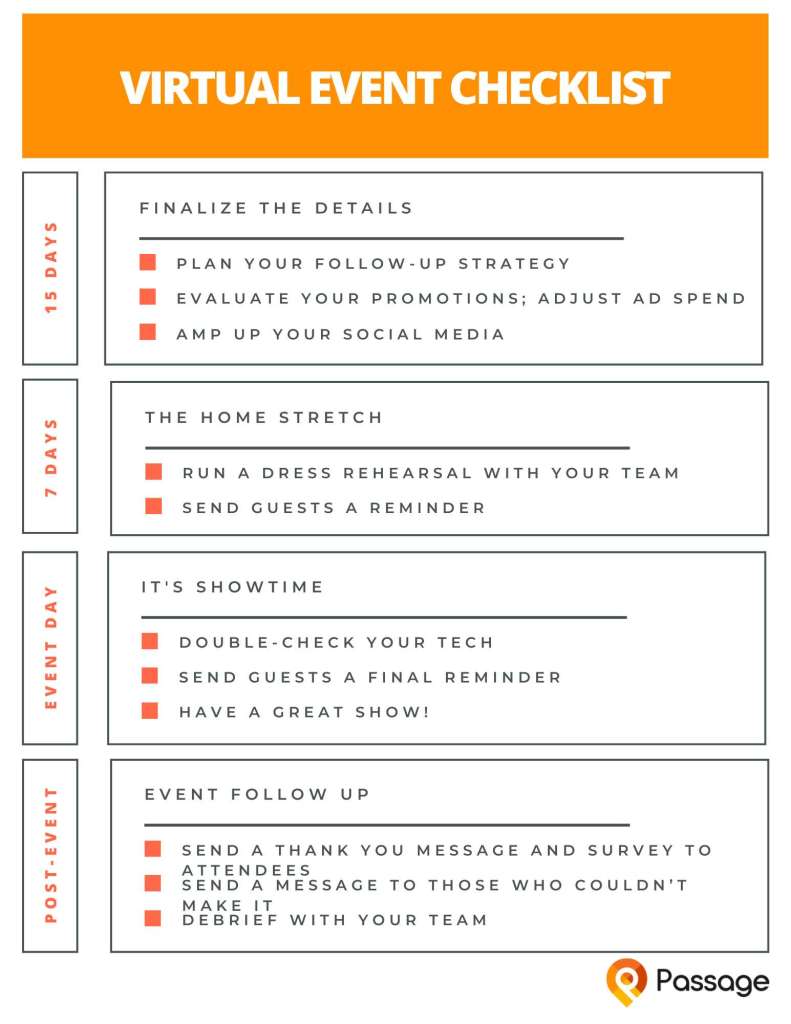
Day 15: Finalize the Details
Plan your follow-up strategy
How will you engage attendees after your livestream event ends? Prepare any surveys or email communications now so you can send them out promptly.
Evaluate your promotions
Take a look at the results so far from your marketing and advertising campaigns. Are some doing better than others? You may want to shift resources to channels that are performing well. Are you not getting as much traffic as you thought? This is your opportunity to change things up or double-down on your efforts.
Amp up your social media
With just two weeks until your event, now is the time to start giving guests teasers of what they can expect during your livestream. Highlight any featured guests or entertainment, post short interview clips with talent, or just share the rundown of activities to help build excitement.

Day 7: The Home Stretch
Run through a dress rehearsal with your team
Make sure all your AV equipment and technology is working as you want it to work, and that everyone knows their role during the event. Try recording your dress rehearsal so that participants can review their performance from the guest’s perspective and make any adjustments they want to before the livestream event.
Send guests a reminder
Send a reminder to everyone who purchased tickets to your event to help build anticipation and so guests can confirm in on their calendars. Consider including a preview of the event, how to access it, and anything else that may help build anticipation and excitement. Include social media links to make it easy for guests to share your event with their friends.
If you’re using Passage, reminder emails can be scheduled to automatically go out on dates you choose.

Day of Your Event: It’s Showtime Event
Double-check your tech
Test your wifi connection, sound, and lighting a few hours before your livestream begins so you have time to troubleshoot any issues before guests arrive.
Send a final reminder to guests
About an hour before your event begins, send out a reminder email to everyone who purchased tickets along with the information they’ll need to be able to access your live stream.

Post-Event: Always Follow Up
Send a thank you message and survey to attendees
The day after your event, send an email to all attendees thanking them for attending. You could even include a few event highlights or the total amount raised if you accepted livestream donations. Include a survey link in your follow up email so guests can provide feedback and help you improve future events – they may have valuable insights on how to make the experience even better.
Send a message to those who couldn’t make it
Follow up with guests who purchased tickets but never signed onto your livestream. Let them know you’re sorry they couldn’t make it and you hope they’ll join you for a future event. Share a few event highlights to recap what they missed and entice them to re-purchase in the future.
Debrief with your team
Meet with your team after the event to discuss what went well and what you’d like to improve for the next event. Do this as soon after your event as possible, while the experience is still fresh in your minds. Once you’ve gathered data from attendee surveys, share the feedback with your team, and discuss whether any additional ideas or suggestions should be added to your plan for future events.
Need help setting up your livestream event? We’d love to help, at ZERO cost to you. Sign up for an account, or schedule an onboarding call with our support team and we’ll set everything up for you.