

It seems like there are never enough hours in the day, especially for a professional event producer. There’s a lot to get done. On top of that, busy work – menial, time-consuming tasks – constantly threatens to deflate our productivity.
Don’t you wish you had more time to focus on the important stuff?
Us, too. That’s why we’re excited to announce Passage’s integration with Zapier. Zapier is a powerful automation engine that helps eliminate tedious tasks like data entry and scheduling. It works with your Passage account, seamlessly completing your busy work in the background.
This feature allows you to automatically:
- Add new customers to your email list,
- Add sales to a spreadsheet,
- Send a survey to every guest who purchases a ticket,
- Add new bookings to your calendar,
- And so much more.
The new integration can help you manage everything from accounting to customer service, digital marketing, and reputation management.
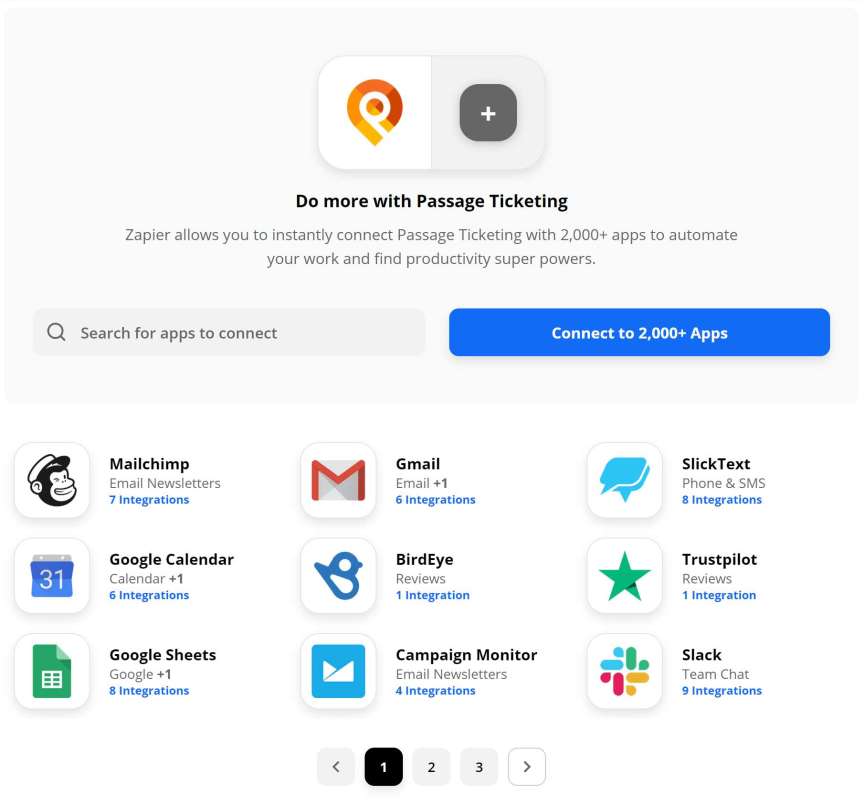
You can set up a “Zap” for your Passage account in minutes. To get started, log in to your Zapier account (or create a new account) and navigate to “Connected Accounts” from the top menu bar.
- Try some pre-made Passage Ticketing integrations;
- Or build a custom workflow by following the steps below.
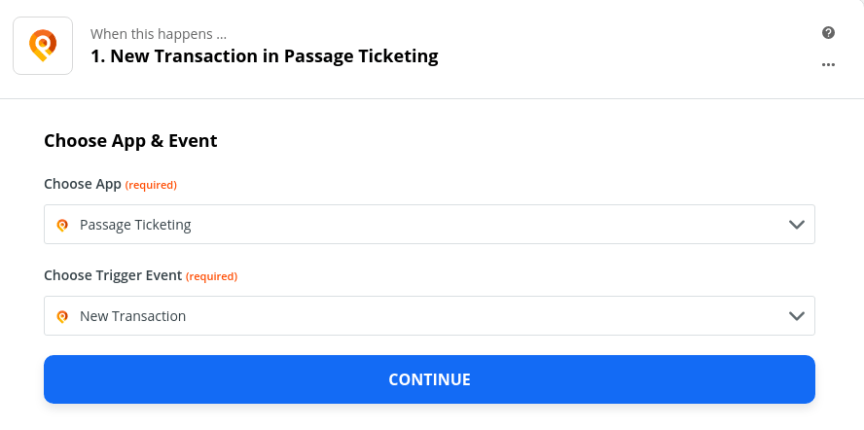
STEP 1: Choose your app and event
Search for or select Passage Ticketing from the Choose App drop-down menu.
Click the Choose Trigger Event dropdown menu and select the action (e.g. “New Transaction”) that you want your Zap to perform. Hit the “Continue” button.
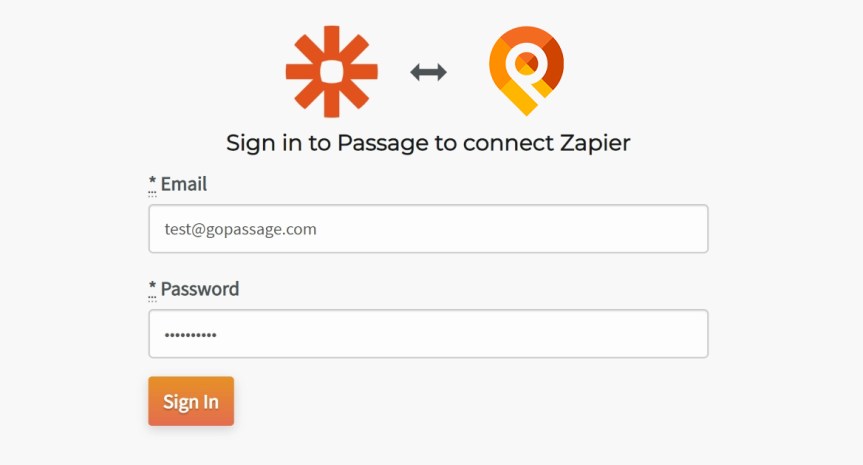
STEP 2: Connect your Passage account
Sign in using the email and password you normally use to access your Passage account.
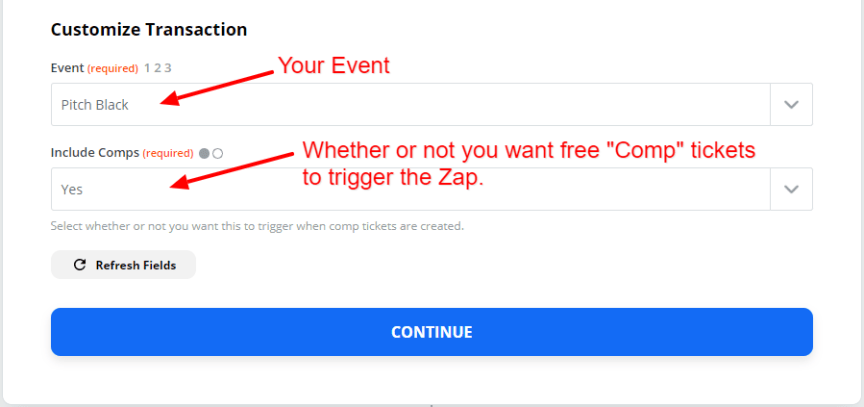
STEP 3: Customize your options
Click on the drop-down menu, and select from the list of your events. Then choose whether or not to also include comp tickets in the second drop-down field, and hit the “Continue” button.
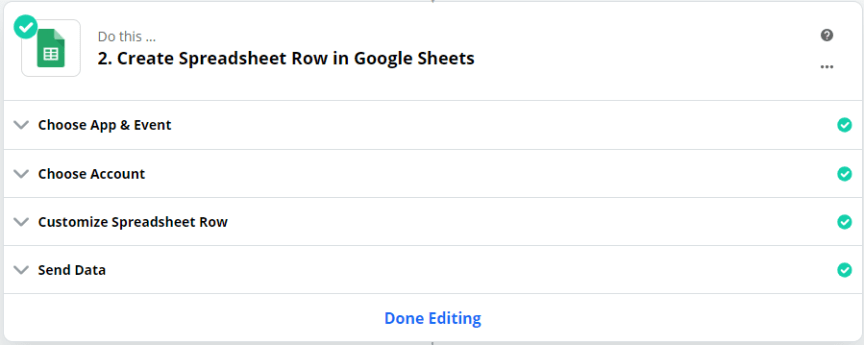
STEP 4: Choose your integration
Choose a web app (e.g. Google Calendar, Mailchimp, Slack, etc.) to integrate with the data sent from Passage, and follow the instructions to customize the action for your use.
For example, you can tell Zapier to create a new spreadsheet entry every time a transaction happens on your Passage account.
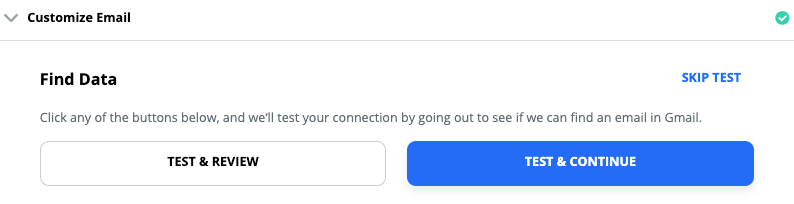
STEP 5: Test your Zap
Test your Passage integration using a recent transaction, then save.
Try it yourself!
You can click “Use this Zap” on any integration below to start automating your life with Passage Ticketing + Zapier.
Have you tried our Zapier integration yet? We’d love to hear how you’re using the app to be more productive. Let us know in the comments!