
Five-star reviews. Facebook likes. Fans. Followers. We all want them, but we can never seem to get enough of them.
You might look at other events with amazing online ratings and wonder: how did they do that? It’s not dumb luck, there’s a simple science to managing your reputation online.
Producing an event in the digital age is both a blessing and a curse. It’s never been easier for new customers to find you online. On the other hand, it’s never been easier for unhappy guests to blast scathing rants into the void, potentially hurting your future sales.
Online reviews help potential customers get to know your event and build trust with you. They can boost visibility, add credibility, and influence purchasing decisions. In some cases, they can even improve your search rankings.
Continue reading below as we break down the four key websites you should know, and the dos and don’ts of managing your online reputation.
REVIEW SITES YOU SHOULD KNOW
1. Google Reviews
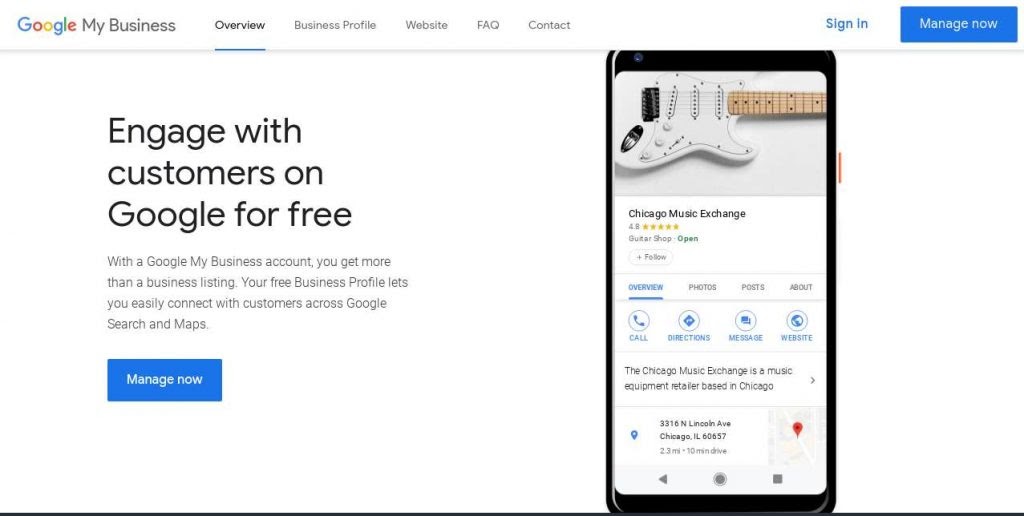
Google is the world’s largest and most trusted search engine, and its user-generated business reviews are integrated into its search results. Every time someone searches for your event on Google’s search engine, Google Maps, or any other Google product, your star rating and user reviews are likely to appear right alongside the search results. Google uses a 1-5 star rating which displays right under the name of your event or business, so this is an important place to manage your reputation.
To claim your business on Google Reviews, navigate to business.google.com, search for your business by name and address, then fill out basic information about your business and submit it for verification. Within a few days, you’ll receive a PIN from Google to complete the verification process.
2. Yelp
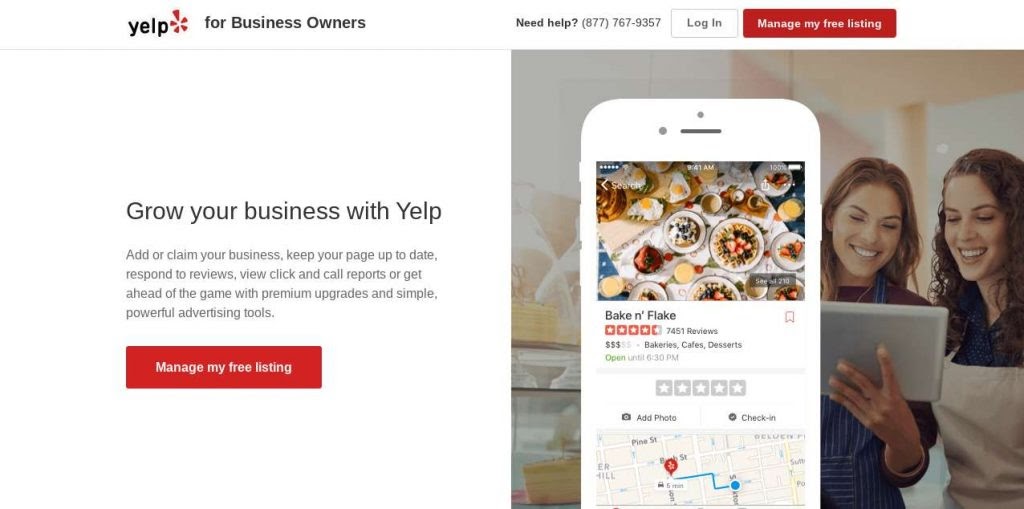
Love it or hate it, Yelp is arguably the most well-known forum for crowd-sourced reviews. With more than 148 million user-generated reviews, it’s hard to stay relevant without managing your reputation on Yelp. Like Google, Yelp uses a 1-5 star rating. When a user navigates to your event or business page, they’re shown reviews by the default “Yelp sort”, which is determined by recency, user voting, and other factors.
Claim your business by searching for it at biz.yelp.com and follow the prompts to verify your account from there. It’s free to create and manage your business page but there are some paid options available beyond that, for things like removing ads or adding a call-to-action button.
3. Facebook
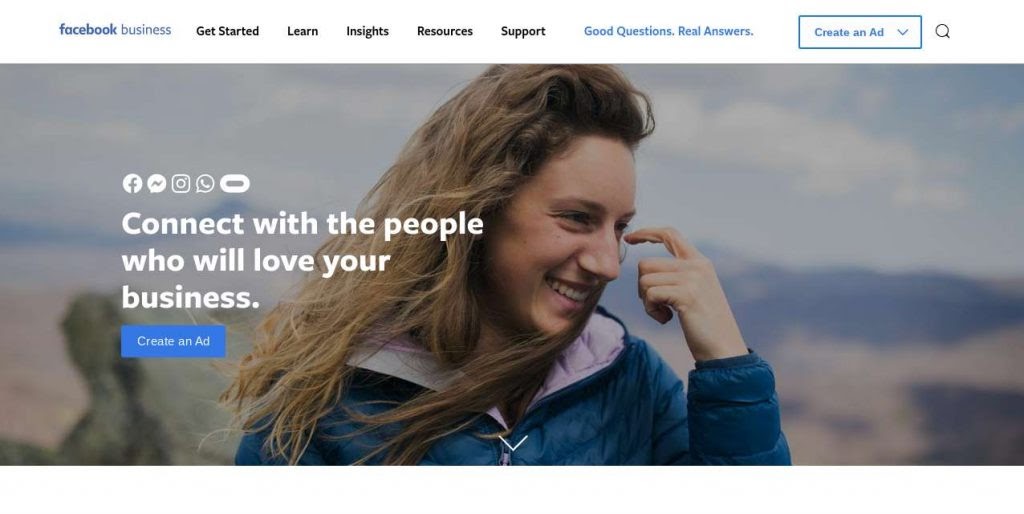
Facebook is the largest and most pervasive social media platform on the globe. Chances are, you already have a Facebook page for your events where you share information and interact with your customers. Some of them may have already recommended your event or left you a review.
Facebook’s recommendations work a little differently; users are simply asked whether they would recommend your business and may select the “Yes” or “No” button. From there they can opt to leave a written review of their experience.
.svg)
You can choose whether or not to display reviews on your Facebook page.
- Click on the “Settings” button on the top-right corner of the Page.
- A new window should appear. Click on the “Templates and Tabs” section.
- Click the “Settings” button next to the Reviews sign on the page.
- Toggle the “Show Reviews” option to ON or OFF, depending on your preference.
.svg)
4. TripAdvisor
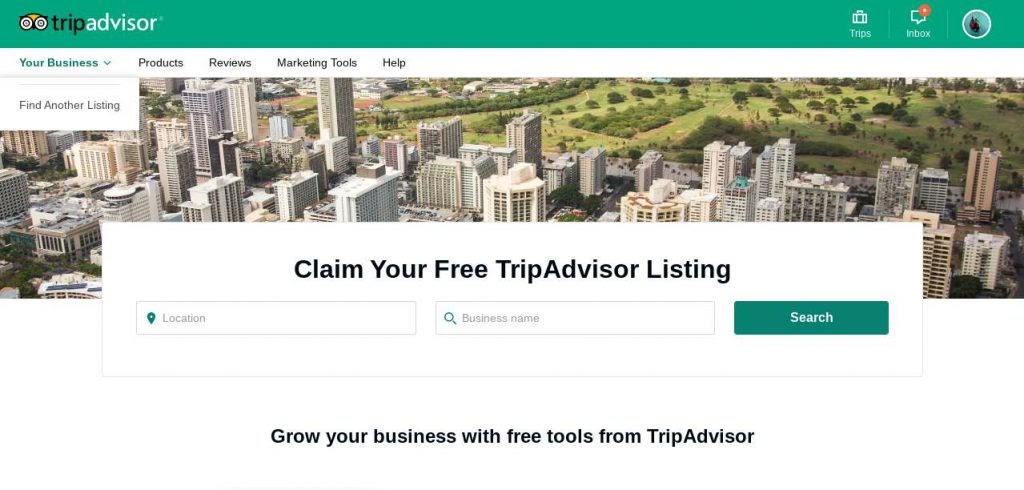
Originally a travel site, TripAdvisor has evolved into a platform where users share opinions and ratings of local businesses across the country (and around the world).
TripAdvisor displays it's signature green bubbles, but it’s essentially the same 1-5 star rating as the other sites we’ve discussed. In addition to individual ratings, TripAdvisor uses a Popularity Ranking which determines where your business shows up in search results on the platform. The Popularity Ranking is based on your standing relative to other businesses within your geographic area.
You can check to see if your event already has a listing on TripAdvisor by going to tripadvisor.com/owners If your business name pops up, click “Claim Your Business” and follow the prompts from there. If your name doesn’t appear in the search results, create a new listing by going to tripadvisor.com/GetListedNew.
After Tripadvisor’s editors verify your details, you’ll receive a confirmation email. This takes about five days. Once you’re confirmed, you’ll be able to access the Management Center (this requires further verification) where you can respond to reviews, update your information, add photos or video, and access the paid marketing tools.
ASKING FOR REVIEWS: DOs AND DON’Ts
Do: Make Yourself Easy to Find
This not only helps make it simple for happy guests to leave you a review, but it helps potential new customers discover your event and decide whether to visit.
Fill out your business information and add some photos to the review sites listed above, or any that might be relevant to your event. It can be the same on every platform – just copy and paste. Don’t forget to include your hours of operation and contact information.
You may also want to add widgets to your website that make it easy for your guests to share on social media or review sites.
Do: ASK!
If you sit back and wait for guests to leave reviews for you, you risk only inviting the angriest, curmudgeon-y comments. It takes more effort to encourage happy guests to talk about their experience than those who are unhappy. We just don’t think about it – we need a reminder.
Asking your guests to review their experience is probably the most important step – it’s the gentle nudge your happy guests need and offers you a chance to respond to and recover the unhappy ones.
Do: Automate Your Ask
You don’t need to personally ask every guest who attends your event for a review (who has time for that, anyway?). Just send an email to every guest after their visit.
Passage integrates with over 500 web apps through a platform called Zapier. In just a few minutes, you can set up a “zap” that automatically sends an email survey to every guest after they attend – schedule it to deliver one day after your event (or if you have ongoing events, one day after they’re scheduled to visit based on the ticket they purchased.) Learn more about our Zapier integrations here.
Do: Be Selective
Your initial survey should be simple and easy to complete. Just ask for a 1-10 rating. Guests should see a simple scale or series of stars; all they have to do is click the number that reflects their experience. Done. Who wouldn’t fill that out?
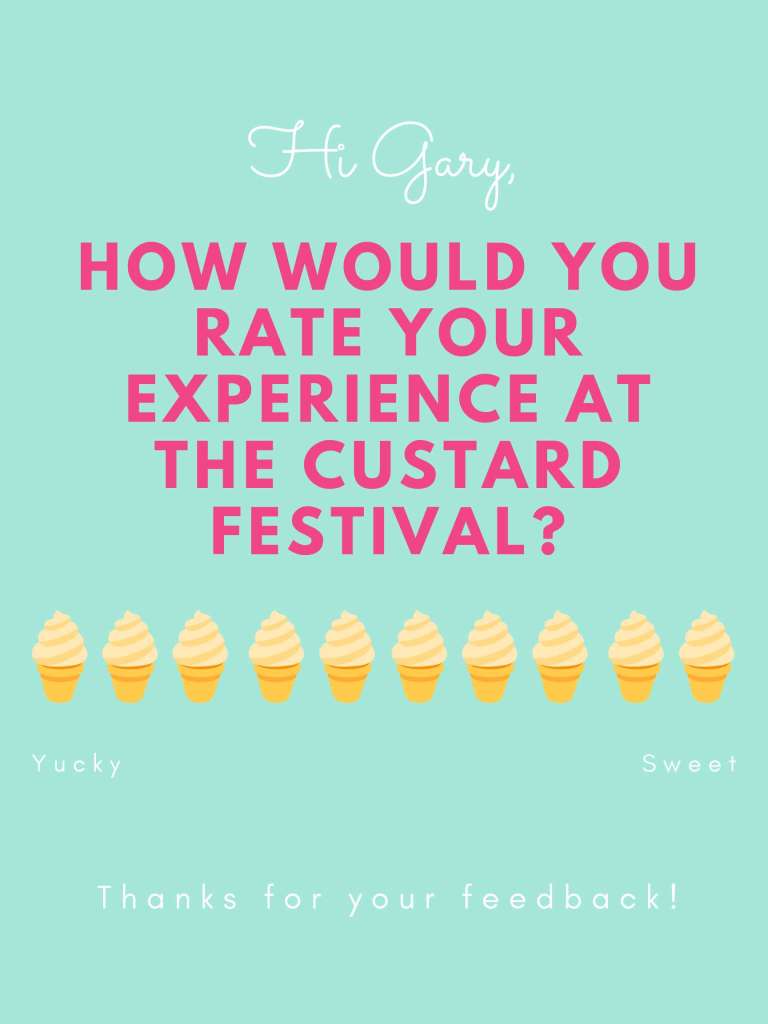
Those responses should go directly to you, and only you. From here, you can separate the potential positive reviews from the potentially negative ones. This can be automated, just like the initial email.
Any guest who rates your event a “7” or higher gets a followup survey. This is where you can capture more details, collect testimonials, and offer incentives or thank-yous for anyone who leaves a review online (more on that below).
Do: Respond to Reviews
Even the negative ones. Prospective customers will see that you’re responsive and care about your guests’ experiences. It can help take the sting out of a negative review.
We recommend responding to reviews as soon as possible: within 48 hours is a good rule of thumb.
Do: Offer Incentives
Unhappy guests don’t need much incentive to leave a negative review, but happy guests often need a little nudge. Once you’ve identified the guests who had a positive experience at your event, offer them a little something for their time when they leave a review. Maybe a bring-a-friend-free ticket, 50% off their next purchase, or even a free T-shirt. It’s up to you! The key is to make it attractive enough to motivate guests to act without blowing up your budget.
To be clear, the point of incentives is NOT to pay for positive reviews. That’s scammy and uncool. You don’t get to control the content of a guest’s review just because you offered them a free shirt. The point here is to encourage guests who had a positive experience to share their genuine opinions by offering something that shows you appreciate their time and their feedback.
Don’t: Get Emotional
A bad review hurts. No one launches a new event hoping to give guests a negative experience, and it’s understandable to feel a range of emotions when you see a one-star review for your business. But you’ll only make things worse if you respond with anger or snark.
Keep your responses professional. If a customer does say something untrue about your event, it’s ok to correct them, but stick to the facts. Don’t use review sites as a platform for venting or telling off bad guests.
Don’t: Fake it
A lot of businesses make the mistake of trying to “pad” their reviews with positive mentions from staff, family, or friends who may not actually be customers. It’s totally ok to encourage your crew to leave reviews, but make sure you tell them to be honest and talk about their personal experiences.
So there you have it! Our best advice for managing your event’s reputation. Feel free to drop us a question in the comments, or reach out to our support team if you need help setting up a “zap” on your dashboard.
Want us to do a whole post on how to use Yelp or other review sites? Let us know in the comments!