

It seems like there are never enough hours in the day, especially when you’re running your own business. There’s a lot to get done. On top of that, busy work – like scheduling meetings and updating our email lists – constantly tries to deflate our productivity.
Do you wish you had more time to focus on the important stuff?
Us, too. That’s why we developed the Passage + Zapier integration. Zapier is a powerful automation engine that helps eliminate tedious tasks like data entry and scheduling. It works with your Passage account, seamlessly completing your busy work in the background.
This feature allows you to automatically:
- Add events to your calendar
- Add users to your email list
- Add sales to a spreadsheet
And so much more. The new integration can help you manage everything from accounting to customer service, contacts, surveys, and task management.
You can set up a “Zap” for your Passage account in minutes. Here’s how to get it done.
STEP 1: Click this link to accept your Zapier invitation from Passage. After accepting, you’ll be redirected to your home dashboard.
STEP 2: On your dashboard, click the “Make A Zap” button.
Each zap consists of a trigger (i.e. a new ticket sale) and at least one action connected to other web apps you use (there

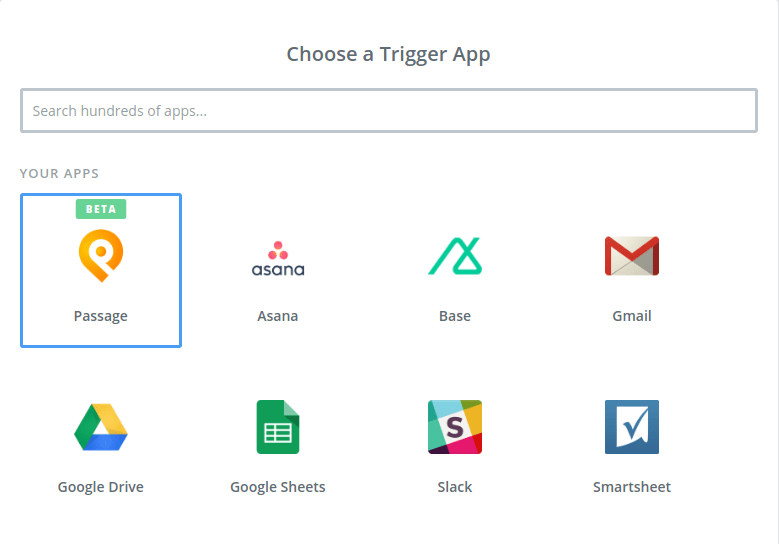
STEP 3: Set up the Zap Trigger. Choose “Passage” as your trigger app.
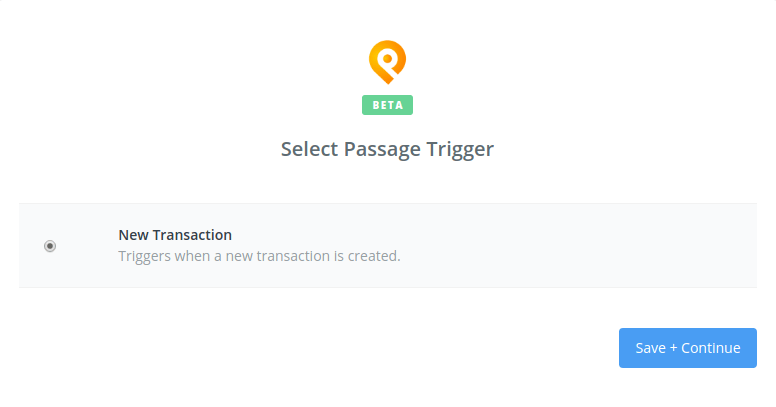
Then select the Passage Trigger from the available options (i.e. “New Transaction”), and hit the “Save & Continue” button.
STEP 4: Connect your Passage account: select an existing account from the list, or click the “Connect a New Account Button” and sign into your Passage account. Click “Save & Continue.”
- Select the Event for which your Zap will be set up – click on the drop down menu field, and select from the list of your events. Then choose whether or not to also include comp tickets in the second drop down field, and hit the “Continue” button.
- Test your Passage integration using a recent transaction, then continue on to your Action step(s).
STEP 5: Set up a Zap Action.
Choose a web app (calendar, spreadsheet, mailing list, etc.) to integrate with the data sent from Passage, and follow the instructions to customize the action for your use.
Have you tried our Zapier integration yet? We’d love to hear how you’re using the app to be more productive. Let us know in the comments!